Update 2024-10-10: The easiest way is to install Meta Developer Hub, connect your heaset, and press the ADB over Wi-Fi switch under Device Manager.
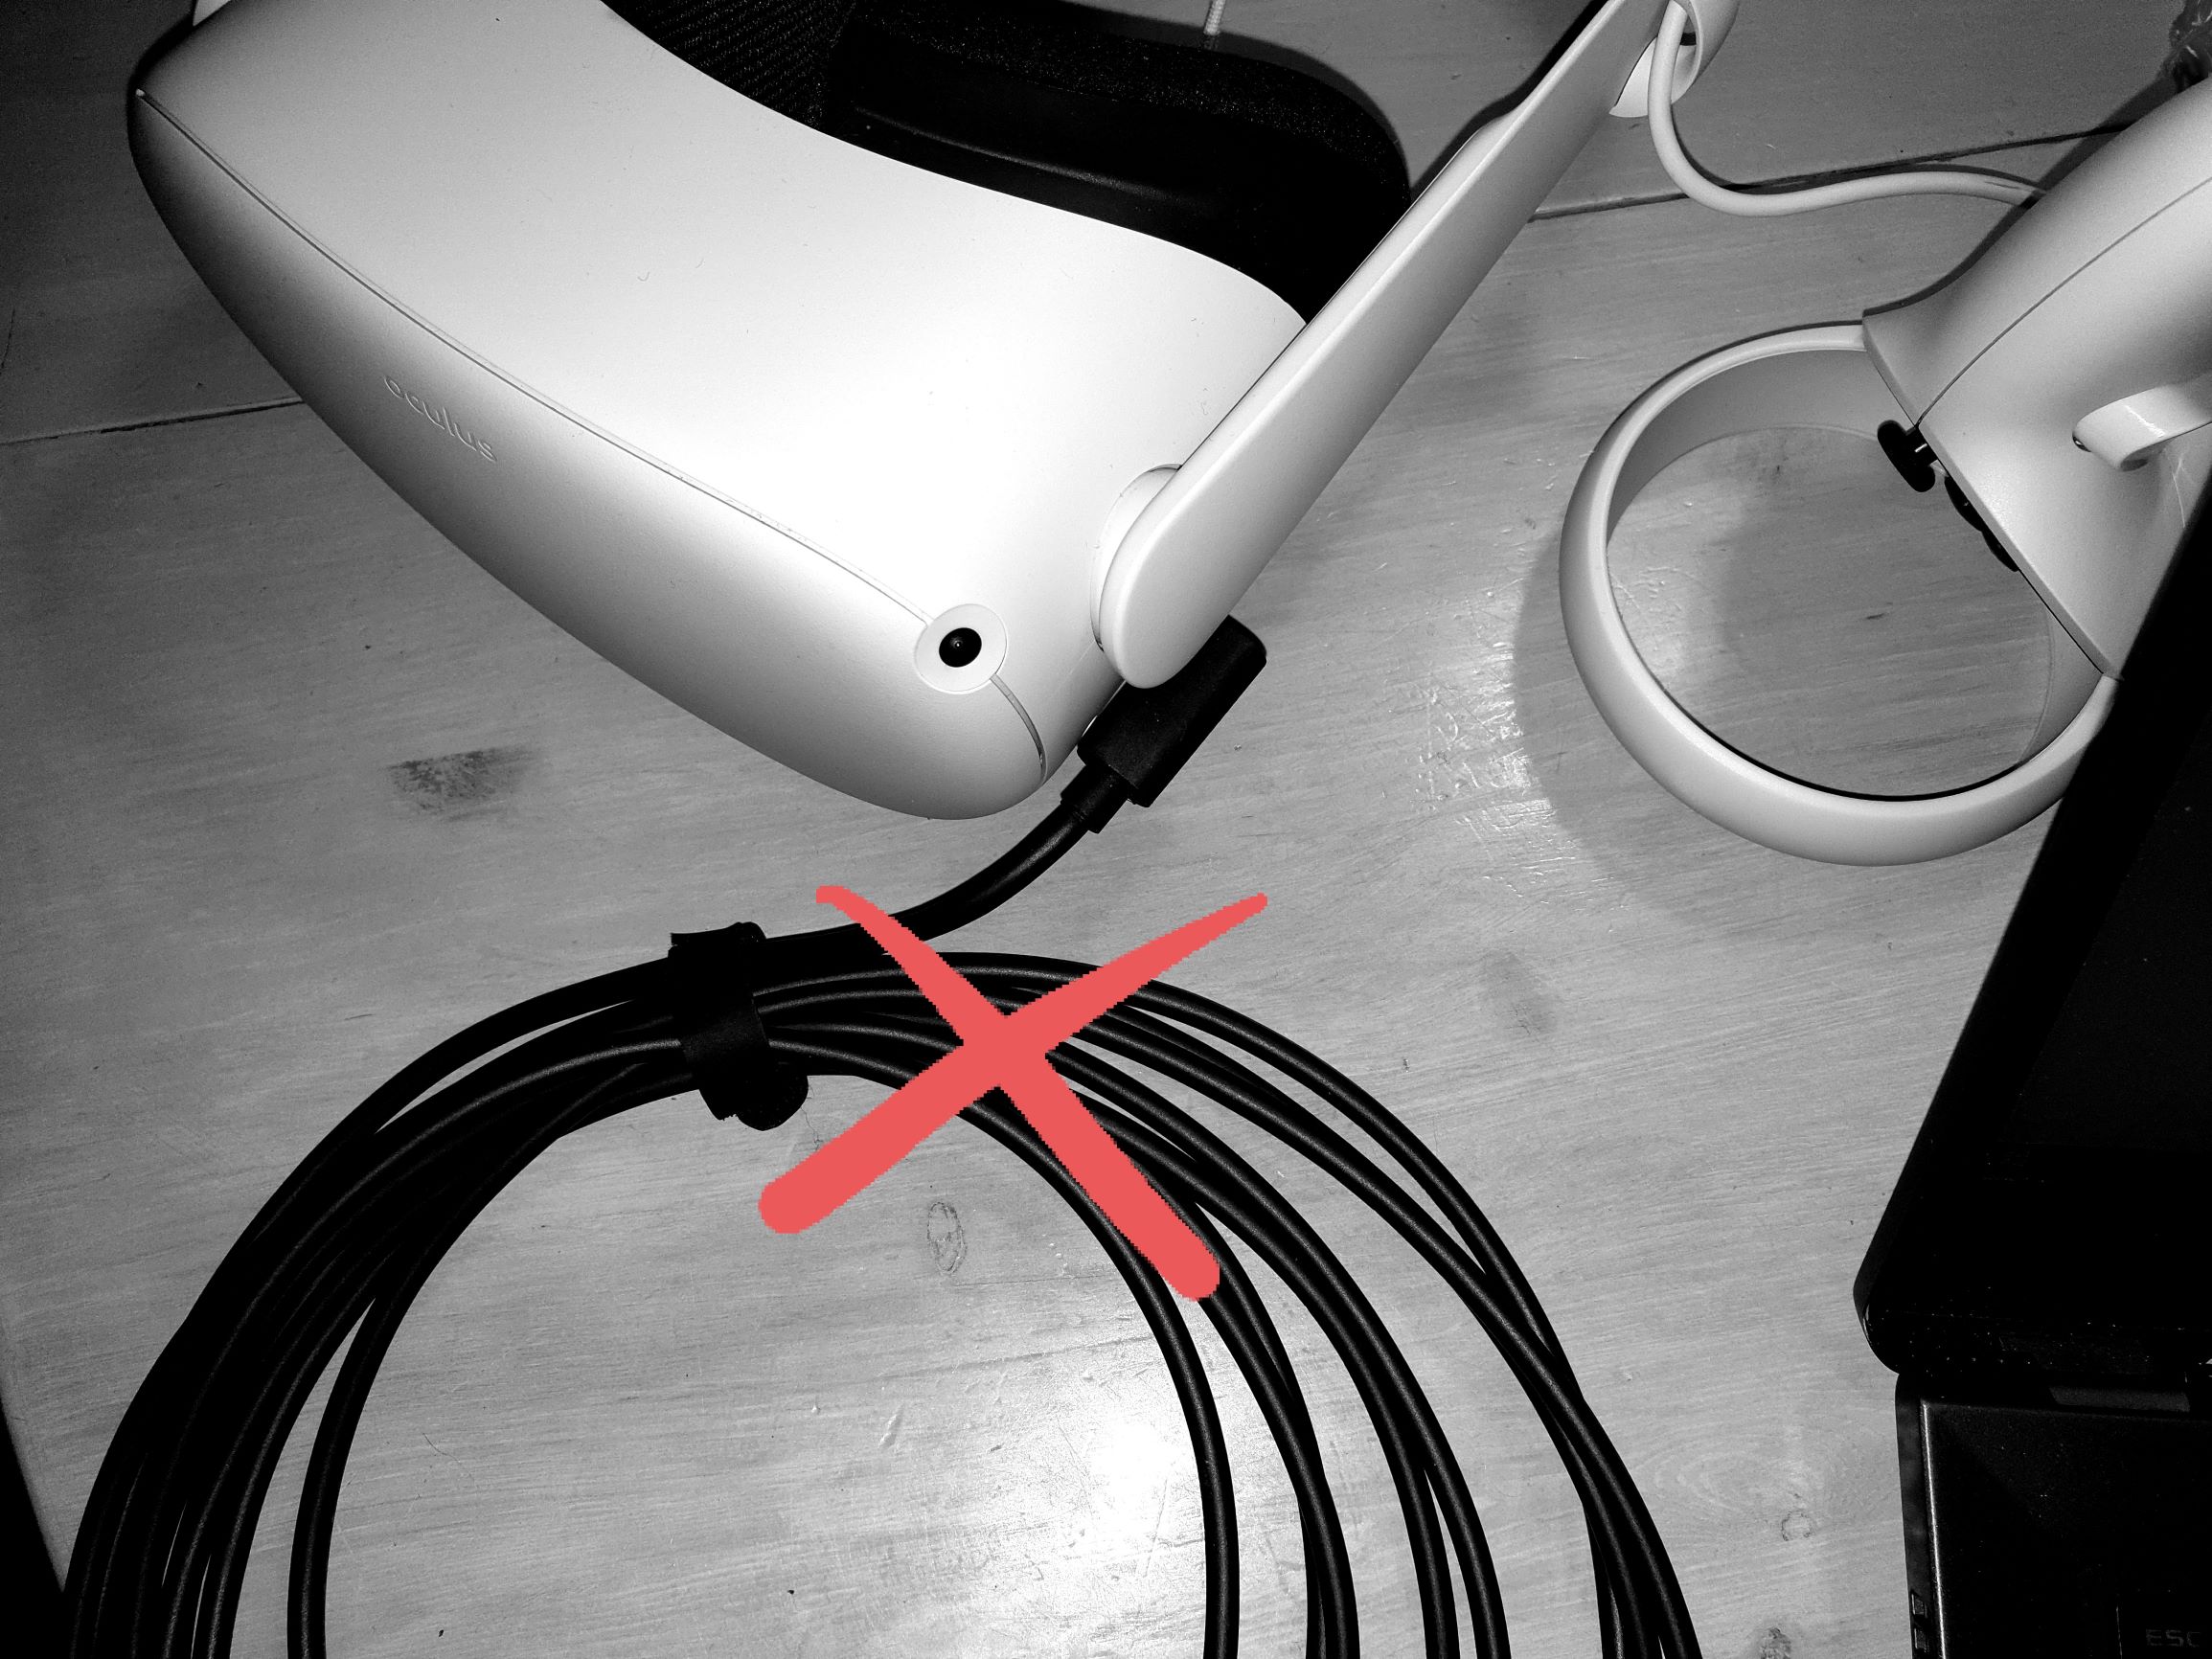
When developing VR games and experiences for my Oculus Quest and Quest 2, I often wanna export an .apk file to the headset to check performance or just be untethered from my computer. Usually I transfer it using a Link cable (just a fancy USB 3 cable), but it’s a bit of a hazel having a cord connected all the time. But recently I learned you can connect through ADB using a WIFI connection!
Here’s the steps to connect to your Quest over WIFI:
(I also provide some .bat files for Windows user so you don’t need to type and remember this every time):
- Connect your headset with a USB 2 or 3 data transfer cable (like the official Link cable), take on your headset and accept any incoming connection in your headset.
- Make sure the headset and computer is connected to the same WIFI-network.
- Get the IP address of the headset: In your terminal where you have adb (Android Device Bridge) installed (in Windows this is the Command Prompt), you can write
adb devicesto see if your device is conencted to your computer, and then writeadb shell ip addr show wlan0. After the text inet you will see your device IP adress, ex192.168.1.2. - Now restart adb with port 5555:
adb tcpip 5555 - Lastly we want to connect the device to this connection:
adb connect 192.168.1.2:5555.
Now you can remove the cable and enjoy sending new builds from ex Unity to your device, cable free!
Bonus content:
Show IP address and connect it to ADB using TCP/IP using an interative .bat file
Make sure the path to your SDK platforms-tools is correct* (usually it’s just to change the Unity version to the one you have installed), and copy this code inside a text file and save it as “connectWirelesslyToAndroidDevice.bat” and put in your project or Desktop:
cd C:\Program\Unity\Hub\Editor\2020.2.6f1\Editor\Data\PlaybackEngines\AndroidPlayer\SDK\platform-tools\ && adb devices && adb shell ip addr show wlan0
set /p IpAddress=What is the devices IP address?
adb tcpip 5555
adb connect %IpAddress%:5555
echo If no error, you may now remove the cable and close this window
cmd /k
Now you can just double-click the file, copy the IP-address, paste it and press enter to confirm. Much faster then needing to write everything yourself all the time.
* This is so that you have the same ADB server running as Unity is using. If you ever seen this message, you know what I mean:
adb server version (40) doesn't match this client (41); killing...
Leave a Reply